


How to Care for your Camping Gear in 4 Easy Steps
Although camping can be a fun, relaxing escape to nature, it does take quite a bit of prep, packing — and gear! Especially if you like to have certain comforts and amenities available during your trip.
Between a tent, sleeping bags, pillows, toiletries, cooking utensils, chairs etc., camping can also be a bit of a financial investment up front! However, the average camping tent will last around 10-15 years, and it’s a similar timeline for sleeping bags (the two most costly pieces of gear on average).
Therefore, it’s very important to care for your camping gear correctly so that you can buy it once, and enjoy it for years to come!
So how exactly can you care for your camping gear? It really breaks down to 4 simple steps. We know you can often feel a bit tired after returning home from camping, but caring for your camping gear correctly is well worth the effort. Plus, next time you want to go camping your gear will be all ready to go.
Let’s dive in!
Step 1. Dry
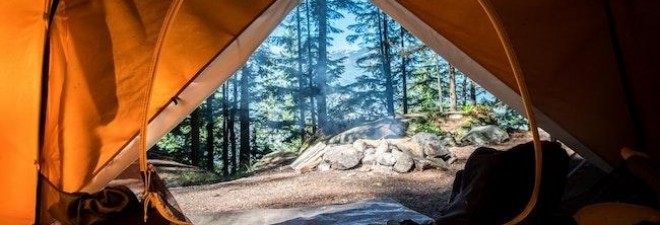
As soon as you arrive home from your trip, you’re going to want to dry out all of your equipment. Even if you didn’t have rain or bad weather, camping gear can collect moisture or dew from a quick morning pack-up. This moisture can lead to mildew, mould and destruction of your gear.
This is hands-down the most important step in caring for your gear— so don’t skip it!
Tent:
For a small/large canvas tent or hammocks, you’ll want to unpack it and lay it out as flat as possible, either outdoors in the sun or indoors somewhere warm and dry. Give the tent at least 24 hours to fully dry-out. For bigger tents, it may take up to 48 hours. Also, turn your tent bag inside out and let it air out as well.
Sleeping Bags and Mats:
You may not think you need to air out your sleeping bags, but they can actually collect quite a bit of moisture from your body at night —especially if you were warm or sweating. Simply unzip the sleeping bag and lay it out flat somewhere in your home, or again, outside if it’s sunny. Let the sleeping bags air out for around 24 hours as well.
Other Equipment:
For all other gear, leave it out in your garage or yard for a few hours until dry. Be sure to dry out your Esky too!
Step 2. Clean
After your gear is fully dry, you’ll want to look for areas where you may need to clean it.
Camping can be a pretty dirty experience, and you may be surprised the amount of dirt and dust (and possibly bird poo!) your gear will collect!

Image Source: Unsplash
Tent:
Start with your tent. You’ll likely have dirt that’s collected on the inside, and possibly mud, leaves, etc., on the outside. Use a gentle soap (no detergents or harsh cleaners!) and water mixture on a rag to clean the inside of the tent properly. Then, work on the outside. Be sure to fully rinse and then, again, leave it outside in the sun to fully dry.
Sleeping Bags and Mats:
Sleeping bags may take a bit more work to clean depending on the type you have. Some sleeping bags are fine to go in the laundry, while others (like down sleeping bags) take a bit more time and effort to clean and may require a trip to the laundromat. However, whatever you do, don’t take your sleeping bag to a dry cleaner! They often use harsh chemicals that can destroy your bag.
It is always best to check the tag of your sleeping bags and clean them via the manufacturer’s recommendations!
Other Equipment:
If you used cooking utensils, pots, dishes, silverware, etc. on your trip, give them a proper wash in the dishwasher as you likely only gave them a quick rinse outdoors. (If you are able, keep camping dishes and pots packed separately from your other dishes. This makes it easier to grab them quickly when you’re ready to leave for a camping trip!)
If you took an Esky on your trip, give it a good rinse with soap and water as well and turn it over to dry.
With all other equipment, pick a sunny day to hose them off outside and only use gentle soap when necessary. Then leave outside until everything is good and dry!
Step 3. Repair
Tears, cracks and breaks happen while camping. It’s all part of ‘roughing it’ outside in nature! In order to make preparing for your next camping trip stress-free, you’ll want to take care of any repairs before storing your gear and putting it away.
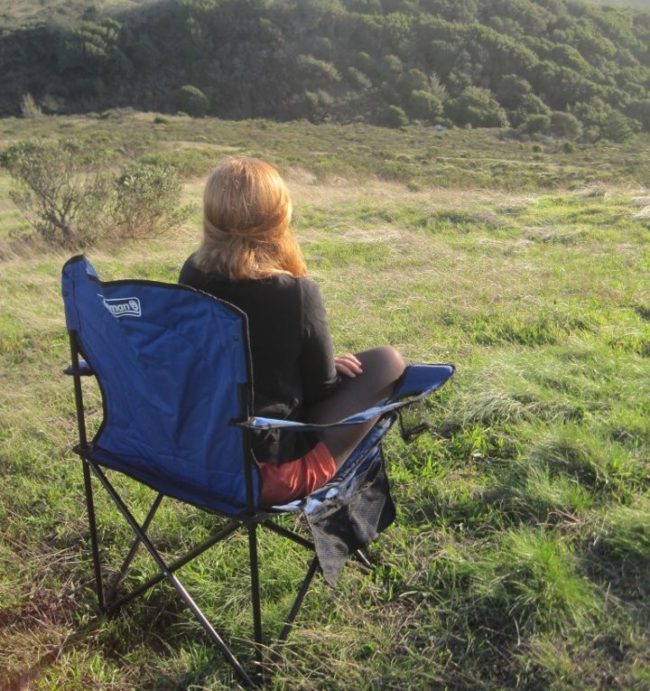
Image source: Outdoor Gear Lab
Tent:
If your tent happened to get any sort of rip or tear during your trip, Tenacious Tape paired with some SeamGrip can help to patch the small hole. If your tear was a bit larger, you can try sewing but note that you’ll need to buy a very special type of strong polyester thread. For temporary fixes, you can try duct tape.
If your tent needs a bit more of an ‘official’ repair, you can take it to a local repair shop, or buy a tent repair kit from the manufacturer.
Sleeping Bags and Mats:
For sleeping bags, you can usually sew them using a regular needle and thread. Try to take care of any snags before they turn into a bigger problem. If you have a stuck zipper, work on it with a pair of needle nose pliers (here’s a how-to guide for that!)
Other Equipment:
Next, change any dead batteries in your equipment, duct-tape any broken poles or chairs, and do an inventory to make sure everything else is in working order before you move onto the next step—storage.
Step 4. Store
Many people overlook the importance of properly storing their equipment after a trip. However, proper storage can actually be the most effective way to keep your camping gear functioning properly.
Tent:
You should be finished with the most important part of storing your tent— which is making sure it’s completely dry. Once it is, it’s best to fold it carefully and place it back into the bag in which it came. If the bag is damaged or otherwise unusable, find another bag (that seals) where you can place your tent. After all, after the hard work of cleaning, dusting and drying it, you don’t want to just leave it out where it can get dirty or wet again! Carefully zip your tent bag so as to not cause any new tears.
Sleeping Bags and Mats:
When going to store your sleeping bags, the best or preferred way is actually to hang them in a closet over a large hanger. For down sleeping bags, this will really help preserve the quality of your bag and ensure that the filling lasts. For synthetic sleeping bags, you can roll them up and place them back into their carrying bags, but if at all possible, the closet option is always best!
For sleeping mats or blow-up mattresses, fully deflate them and store them in a cool, dry place (so moisture doesn’t collect inside the valve). It’s best to store sleeping mats flat, but if you need to fold them, you can do so.
Other Equipment:
If you used any equipment on your trip that required batteries, and you don’t plan on using them again for 6+ months, it’s best to remove the batteries from the equipment (flashlights, headlamps, lanterns, GPS) in order to stop leaking and erosion, which can actually break the equipment. You can just store the batteries separate from the equipment if they’re still in working order, that way they’re ready to go again when you need them!
Tip: Make yourself a camping area in your home or garage:
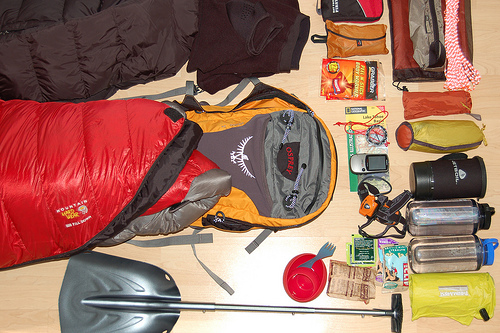
Image source: Ross Harmes
One of the best ways to make your next camping trip more seamless, is to store all your camping equipment in a similar area of your home or garage. In this area, include all of the essentials (that you can spare to store) and keep a checklist of what is in your camping area and what else you need to pack.
Fewer things are more frustrating than getting out to the middle of nowhere to realise you’ve forgotten something important! By doing this, when you’re ready for your next trip, you’ll be organised, efficient, and confident that you have everything you need.
Looking for a great place to stay on your next camping trip?
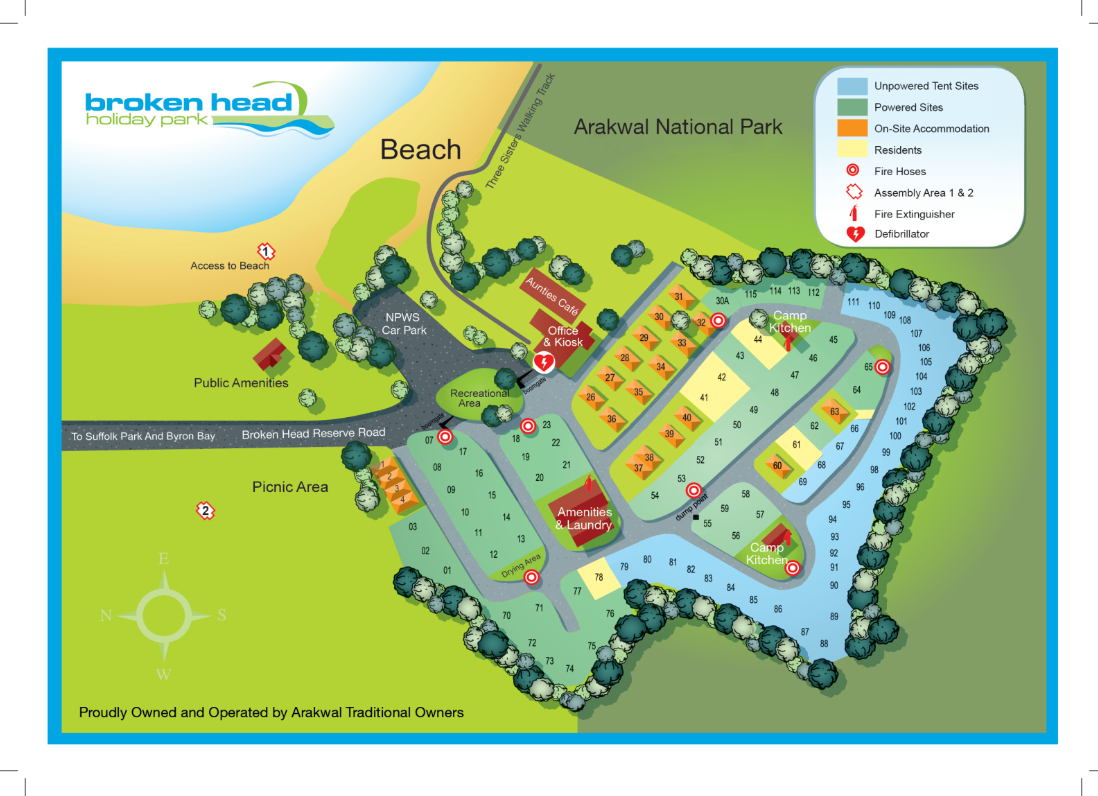
If you’re looking for a beautiful location for your next camping trip, check out Broken Head Holiday Park! Our one-of-a-kind location offers a relaxing, secluded retreat from the hustle and bustle of Byron Bay, while still allowing visitors to go and enjoy all it has to offer during the day! We offer both powered and unpowered campsites where you can pitch your tent, as well as other budget accommodation that fits the needs of campers looking for any kind of experience!
Along with your campsite, you’ll be able to enjoy camp facilities, such as free BBQs, laundry facilities, a kiosk with basic supplies, showers, activity information and more. To plan your trip visit us at Broken Head Holiday Park. We hope to see you soon!


This Post Has 0 Comments