


5 DIY Caravan Repairs and Checks For a Camping Trip
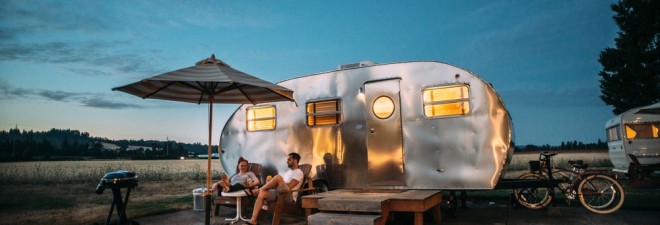
Caravans provide campers with a place to sleep, a kitchen, bathroom and much more—depending on the type you get. All these amenities are awesome and can help even the biggest camping hater give in and enjoy the experience.
But these are large, moving homes, and like any regular home, they need to be maintained and checked on before you do anything major, like a big road trip.
While it’s best to have a professional perform routine maintenance or any major repairs, there are some small repairs and checks you should learn how to do so you can rest easy knowing if something minor happens on your trip, you’re covered.
Our top 5 suggestions for your DIY caravan checklist are:
1. Tyre Pressure
Your caravan will run smoother, enjoy better gas mileage and help the tires last as long as possible if you keep the pressure at the right amount.
Using a tire pressure gauge, you should be able to do it yourself—two different ways, cold and warm. That means before you start driving and after about 30 minutes of driving. There should be about 5-6psi between the two ratings. If it’s more or less than that amount, you should adjust your pressure.
The correct pressure amount should be listed on the tires, but it’s also on the caravan compliance plate if you need it.
2. Lights
Depending on where you’re driving, a light going out on your caravan could cause a major driving hazard.
So it’s a good idea to carry a spare bulb or two to take care of a random headlight or tail light blowing out.
But it’s not the bulb, then you’ll need to dig a little deeper and check the actual electrical connections. Sometimes it’s as simple as dirt clogging up the connection or a loose connection. However, don’t attempt to fix big electrical problems yourself. Call a qualified electrician to help figure out where the issue is.
3. Rattles
This is a simple one, but if something starts rattling while you’re on a long road trip, it’s going to drive you crazy pretty quickly. It’s a good idea to bring along a few tie-downs and/or bungie cords as well as a spray-on grease.
The first place to check for rattles is the jockey wheel—it is often the culprit. If that’s not it (after applying grease and a tie-down), then begin a thorough check of the rest of the caravan.
4. Water Hoses
Not having water accessible in the caravan leaves you without some of the best amenities of a caravan, from bathrooms to running water for cooking or making coffee.
If the water hose develops a small hole or tiny leak, you’ll want to be able to patch it up with a water hose repair kit. For a leak, you’ll need an extra hose.
5. Roof and Awnings
Before you head out on your next camping trip, you’ll want to check your caravan’s roof and awnings. It’s a good DIY prep for your trip. If you catch a leaky roof or awning before you head out, you can do a proper repair.
However, if you notice a leak in either the roof or awnings while you’re on a holiday, you can do a couple of things to take care of them in the moment.
For your roof, bring along a tube of roof sealant. For your awning, you simply need duct tape. However, keep in mind that if the awning is wet, you won’t be able to apply duct tape. So place a rag over it until it dries, and then affix duct tape on both sides once it’s dry.
Both issues can be properly fixed upon returning home, but you don’t need to let them ruin your holiday.
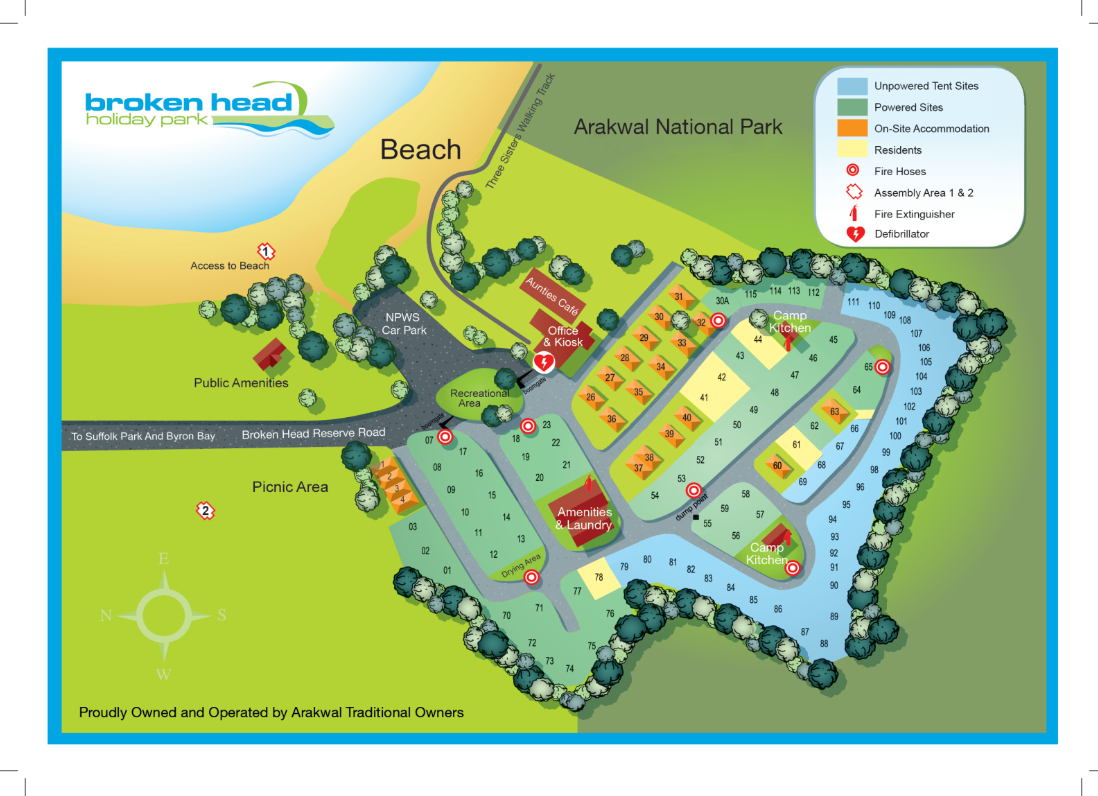
Drive your Caravan to Broken Head Holiday Park
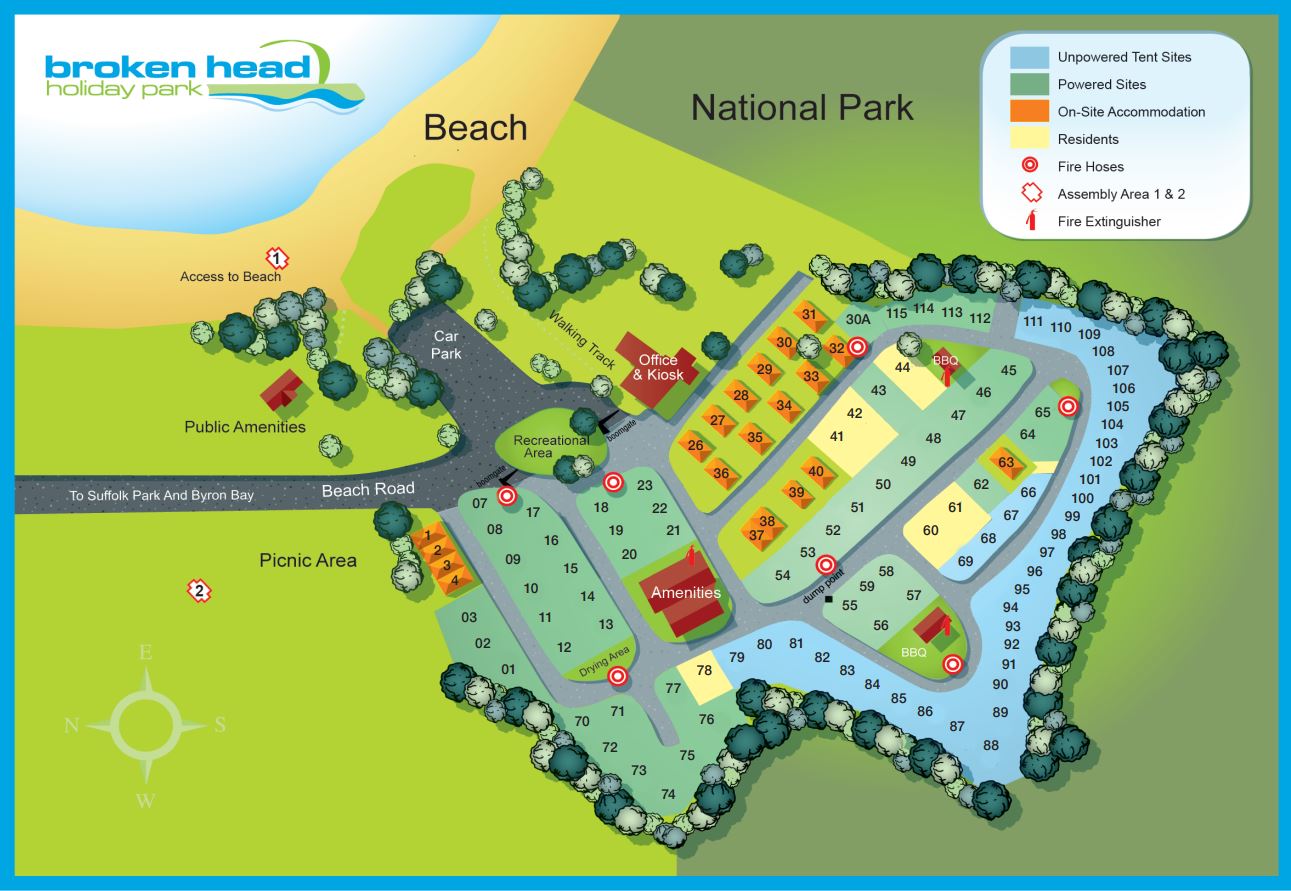
At Broken Head Holiday Park we have powered campsites that would be perfect for you and your caravan. You can pull up and plug in and use our excellent amenities, such a camp kiosk and BBQ facilities, while you’re here. Plus, with our proximity to the Byron Bay city centre, you’ll be able to experience all of the fun things to do. Check out our blog for Byron Bay activities.


This Post Has 0 Comments